How to Take a Screenshot on a Laptop in 2026: The Complete Guide for Windows and Mac Users
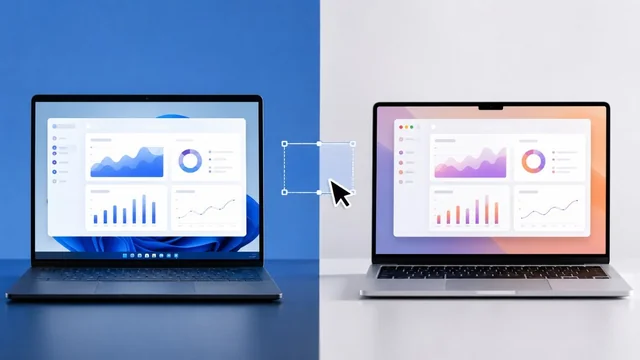
Taking a screenshot sounds trivial until you actually need a clean crop of one window, a scrolling capture of a long page, or text pulled straight out of an image. Windows 11 24H2 and macOS Tahoe (26) both shipped meaningful upgrades to their built-in capture tools in the last year, and a handful of third-party apps still beat the defaults for power users. This 2026 guide collects every shortcut and method worth knowing, on both platforms, in one place — on any modern Windows or Mac laptop.

Quick reference cheat-sheet
Bookmark this table — it covers the shortcuts you'll use 95% of the time on either OS.
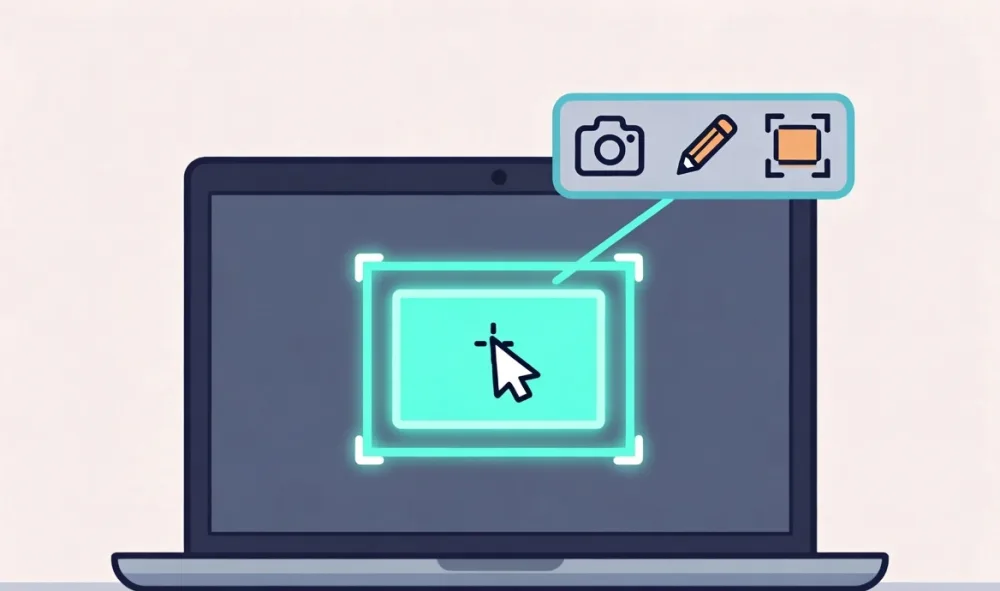
- Windows — full screen to file:
Win + PrtScn(saves to Pictures > Screenshots). - Windows — full screen to clipboard:
PrtScn. - Windows — region snip:
Win + Shift + S(opens Snipping Tool overlay). - Windows — active window only:
Alt + PrtScn. - Windows — screen record:
Win + Shift + R(Snipping Tool video) orWin + G(Game Bar). - Mac — full screen to file:
Cmd + Shift + 3(saves to Desktop by default). - Mac — region selection:
Cmd + Shift + 4. - Mac — window or menu only:
Cmd + Shift + 4, thenSpace, then click. - Mac — screenshot toolbar / video:
Cmd + Shift + 5. - Either platform — clipboard instead of file: add
Ctrlon Mac (Cmd + Ctrl + Shift + 3/4); use the plainPrtScnon Windows.
Every built-in Windows method (Windows 11 24H2)
Windows now has five distinct first-party paths to a screenshot, and which one you pick really does matter for speed.
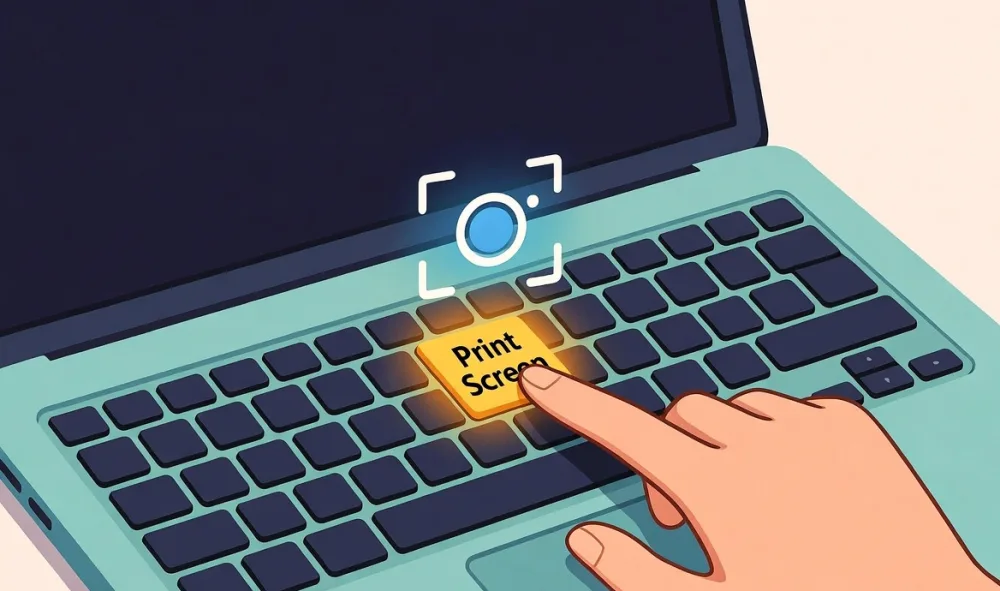
- Print Screen key.
PrtScnalone copies the entire screen to the clipboard.Win + PrtScnsaves a PNG straight to Pictures > Screenshots and briefly dims the display.Alt + PrtScngrabs just the active window. On laptops without a dedicated key, tryFn + SpaceorFn + Windows + Space. - Win + Shift + S (Snipping Tool overlay). The default for most people in 2026. It dims the screen and gives you four modes along the top — rectangular, freeform, window, and full-screen. The capture lands on the clipboard and in a toast notification that opens it for editing.
- Snipping Tool app. Open it from Start or pin it to the taskbar. In 24H2 and later it includes built-in OCR text extraction (Ctrl + T or the "Text Actions" button), a redaction tool that automatically blurs emails, phone numbers and faces, a QR-code scanner, a color picker for HEX/RGB values, and an integrated screen recorder with audio (for standalone options see the best screen recording software). Saved images sync to OneDrive if you enable it.
- Xbox Game Bar.
Win + Gopens an overlay with capture and video recording — handy for app windows but it refuses to record File Explorer or the desktop.Win + Alt + PrtScngrabs the foreground window as a PNG. - Snip & Sketch. Officially folded into Snipping Tool, but the old
Win + Shift + Sbehavior carried over, so muscle memory still works.
Recall, when enabled, stores rolling snapshots locally and exposes them via a separate timeline — it is not a substitute for an explicit screenshot.
Every built-in Mac method (macOS Sonoma, Sequoia and Tahoe 26)
macOS has fewer shortcuts but each one is more flexible thanks to modifier keys.
- Cmd + Shift + 3. Captures the entire screen (every display, separate files). Saved as PNG to the Desktop unless you've changed the location in the screenshot toolbar.
- Cmd + Shift + 4. Turns the cursor into a crosshair for a region selection. Hold
Spacewhile dragging to move the selection; holdShiftto lock one axis; holdOptionto resize from the centre. - Cmd + Shift + 4, then Space. The cursor becomes a camera — click any window, menu, dock icon, or notification to grab it cleanly with a transparent drop shadow. Hold
Optionwhile clicking to drop the shadow. - Cmd + Shift + 5. Opens the screenshot toolbar. It exposes still capture, screen recording (full screen or selected region), a timer, save-location chooser, microphone source, and a "Show floating thumbnail" toggle. This is the only built-in way to record video.
- Cmd + Shift + 6. Captures the Touch Bar. Apple removed the Touch Bar from the entire MacBook Pro line by late 2023, so this is dead on any laptop bought new in the last two years — keep it in mind only for legacy hardware.
- Add Ctrl to any of the above (e.g.
Cmd + Ctrl + Shift + 3) to send the screenshot to the clipboard instead of saving a file.
On macOS Tahoe (26), the floating thumbnail in the corner is where Apple Intelligence shows up: click it and you get Writing Tools, summarisation, and a "copy text" action that uses on-device OCR to pull live text out of the image. Spotlight's redesigned indexer in Tahoe also makes saved screenshots searchable by the words inside them. Apple Intelligence features require Apple Silicon (M1 or newer) with 8 GB+ unified memory; Intel Macs are excluded.

Cross-platform and third-party tools worth installing
The defaults are good now, but power users still reach for these — usually for annotation, scrolling capture, or cloud upload links.

- ShareX (Windows, free, open source). The most feature-dense option on Windows: scrolling capture, OCR, GIF recording, dozens of upload destinations, workflows with custom hotkeys.
- Greenshot (Windows, free). Lightweight, fast region capture with built-in annotation and direct export to Office.
- Lightshot (Windows + Mac, free). Minimal, instant share links, simple editor. Good for quick collaboration.
- Flameshot (Linux, also Windows/Mac builds, free). Polished annotation overlay, popular with developers.
- Snagit (Windows + Mac, paid). Best-in-class scrolling and panoramic capture, robust video, templates — the workhorse for documentation teams.
- CleanShot X (Mac, paid one-time or Setapp). Replaces the macOS toolbar entirely: scrolling capture, hidden-desktop mode, cloud links, GIF/MP4 recording, pixel-perfect annotation. Genuinely the favourite among Mac power users.
Browser-only and webpage capture
You don't need any app at all to capture a full webpage — modern browsers do it natively.
- Chrome / Edge / Brave DevTools. Press
F12orCmd/Ctrl + Shift + I, thenCmd/Ctrl + Shift + P, type "screenshot" and pick Capture full size screenshot. You get the entire scrollable page as a PNG, no extension required. - Firefox. Right-click any page and pick Take Screenshot, or use the address-bar context menu. Built-in full-page mode.
- Safari (Mac). File > Export As PDF saves the full page; for an image, use the Develop menu > Show Web Inspector > Capture Full-Size Screenshot.
- Extensions. GoFullPage (Chrome/Edge), Fireshot, and Awesome Screenshot handle scrolling capture without opening DevTools. Prefer DevTools when possible — extensions can read every page you visit.
Specialised scenarios: scrolling, video, and protected content
The default tools cover everything except these three cases, which trip people up most often.
- Scrolling / long-page capture. Windows has no first-party equivalent yet — use ShareX, Snagit, or the browser DevTools method above. On Mac, CleanShot X and Snagit handle scrolling captures of any scrollable area, including apps.
- Screen recording with audio. Windows: Snipping Tool (mic) or Xbox Game Bar (system audio supported). Mac:
Cmd + Shift + 5records video; for system audio you'll need an extension like BlackHole or a tool like CleanShot X / Loom. - DRM-protected content. Netflix, Disney+, Apple TV, most banking apps, Hulu, and many corporate VDI clients deliberately produce a black rectangle in screenshots. This is enforced by the GPU's protected-content path (HDCP / PlayReady on Windows, AVFoundation on Mac) and applies even to third-party tools. There is no legitimate workaround, and trying to bypass it usually violates the service's terms.
Editing, annotation, and OCR tips
A screenshot is rarely the final artefact — you almost always crop, annotate, or pull text out of it.

- Use the built-in editors first. Snipping Tool's editor handles crop, highlight, redact, shapes and now text extraction. macOS Markup (click the floating thumbnail or open the file in Preview) does the same plus signature insertion. For heavier edits, see our guide to the best photo editing software.
- OCR shortcuts. Windows: open a snip and press
Ctrl + T, or use the Click to Do overlay (Win + Clickin 24H2+) to grab text without screenshotting first. Mac: open a screenshot in Preview or Quick Look, select text directly — Live Text has worked on screenshots since Ventura and is faster on Tahoe. For batch or document OCR, our roundup of the best OCR software goes further. - Redact before sharing. Don't rely on black highlighter over text saved as JPEG — that can sometimes be reversed. Use Snipping Tool's auto-redaction or Markup's solid rectangle, then re-export to a flat PNG.
- File formats. PNG for UI captures (lossless, sharp text). JPEG or WebP for screenshots of photos. HEIC by default on newer macOS but you can switch in screenshot toolbar > Options.
Privacy and security considerations
Screenshots are the single easiest way to leak sensitive information by accident. A short discipline saves a lot of grief.
- Mind the surrounding chrome. Browser tabs, taskbar notifications, calendar reminders, and email previews routinely leak into screenshots shared on social media or in support tickets. Crop tighter than you think you need to, or use "hidden desktop" mode in CleanShot X / Do Not Disturb on Windows.
- Cloud auto-upload. OneDrive (Windows) and iCloud Desktop (Mac) can silently upload every screenshot. Check OneDrive Settings > Backup > Screenshots and System Settings > Apple ID > iCloud Drive > Desktop & Documents. Turn off if you handle confidential material.
- Windows Recall. When enabled, Recall takes rolling snapshots of your screen and stores them locally and encrypted. Sensitive apps and private browsing are excluded by default, but verify the app list under Settings > Privacy & Security > Recall & Snapshots if you use it. Recall is off by default on managed devices.
- Metadata. Modern screenshot PNGs include limited EXIF, but Mac screenshots embed your device name and timestamp by default. Strip metadata before publishing using Preview's Export, ImageOptim, or ShareX's post-process step.
- Apple Intelligence and Copilot. Cloud-routed AI actions on a screenshot can transmit its contents to Apple's Private Cloud Compute or Microsoft's Copilot servers. On-device features are clearly marked in both OSes — use those when the image contains anything confidential.
Which Method Should You Use?
For 90% of everyday work, the answer on Windows is Win + Shift + S and on Mac is Cmd + Shift + 4. Both give you a region selection in under a second, both put the image where you'd expect (clipboard or Desktop), and both have lightweight editors one click away. If you're routinely capturing the same kinds of content — a whole window, a long article, a UI bug — graduate to the platform's full app (Snipping Tool, or Cmd + Shift + 5 on Mac) so you have access to OCR, video, and timer options without hunting.
Reach for a third-party tool only when you hit a real wall: scrolling capture and serious documentation workflows on Windows justify ShareX (free) or Snagit (paid); on Mac, CleanShot X earns its price with its hidden-desktop mode, clean annotation UI, and instant cloud links. Browser DevTools beats every extension and app for full-page web captures because it produces an exact pixel-for-pixel render and never sees pages outside the one you ask it to capture.
The one trap to avoid: don't install five overlapping tools. Their global hotkeys collide, and you'll never remember which one is bound to PrtScn this week. Pick one default and learn its modifier keys properly.
Sources & Further Reading
Frequently Asked Questions
Where do screenshots save by default on Windows 11 and macOS?
On Windows, Win+PrtScn saves PNGs to This PC > Pictures > Screenshots, while Win+Shift+S goes to the clipboard plus a Snipping Tool toast you can save anywhere. On macOS, all the default shortcuts save PNGs to your Desktop. You can change the Mac location in the Cmd+Shift+5 toolbar under Options > Save to.
Why is my screenshot of Netflix or my banking app just a black rectangle?
Both apps mark their video and UI as DRM-protected content. The GPU's protected playback path blanks the frame buffer for any capture tool, including the operating system's own. This is intentional anti-piracy behaviour, applies on both Windows and Mac, and there is no legitimate way around it.
How do I take a scrolling screenshot of a long webpage?
Open Chrome or Edge DevTools (F12), press Cmd/Ctrl+Shift+P, type 'screenshot' and pick Capture full size screenshot. For non-browser content, use ShareX or Snagit on Windows, or CleanShot X / Snagit on Mac — Windows and macOS do not yet have a first-party scrolling capture for arbitrary apps.
Can the Snipping Tool extract text from a screenshot?
Yes. As of Windows 11 24H2 the Snipping Tool includes on-device OCR. After taking a snip, click Text Actions or press Ctrl+T and you can copy recognised text directly to the clipboard. It works offline, supports multiple languages, and also recognises QR codes.
What's the macOS equivalent of Snipping Tool's text extraction?
macOS has had Live Text since Monterey: open any screenshot in Preview or Quick Look and you can select and copy the text inside the image like normal. On macOS Tahoe (26), Spotlight's revamped indexer also makes screenshots searchable by their text content, and Apple Intelligence Writing Tools can summarise or rewrite that text.
Should I turn off Windows Recall if I screenshot sensitive info?
Recall is opt-in on consumer devices and off by default on managed PCs. If you regularly screenshot banking, medical, or work content, leave Recall off, or at minimum review the excluded-apps list under Settings > Privacy & Security > Recall & Snapshots. Recall stores snapshots locally and encrypted, but local access is still access.
Shortcuts and features evolve with OS updates; commands may differ slightly on older Windows 10 systems and pre-Sonoma macOS versions. Information is based on public sources and vendor pages current as of June 2026. Details, prices and plans change frequently — verify on the official site before relying on them.